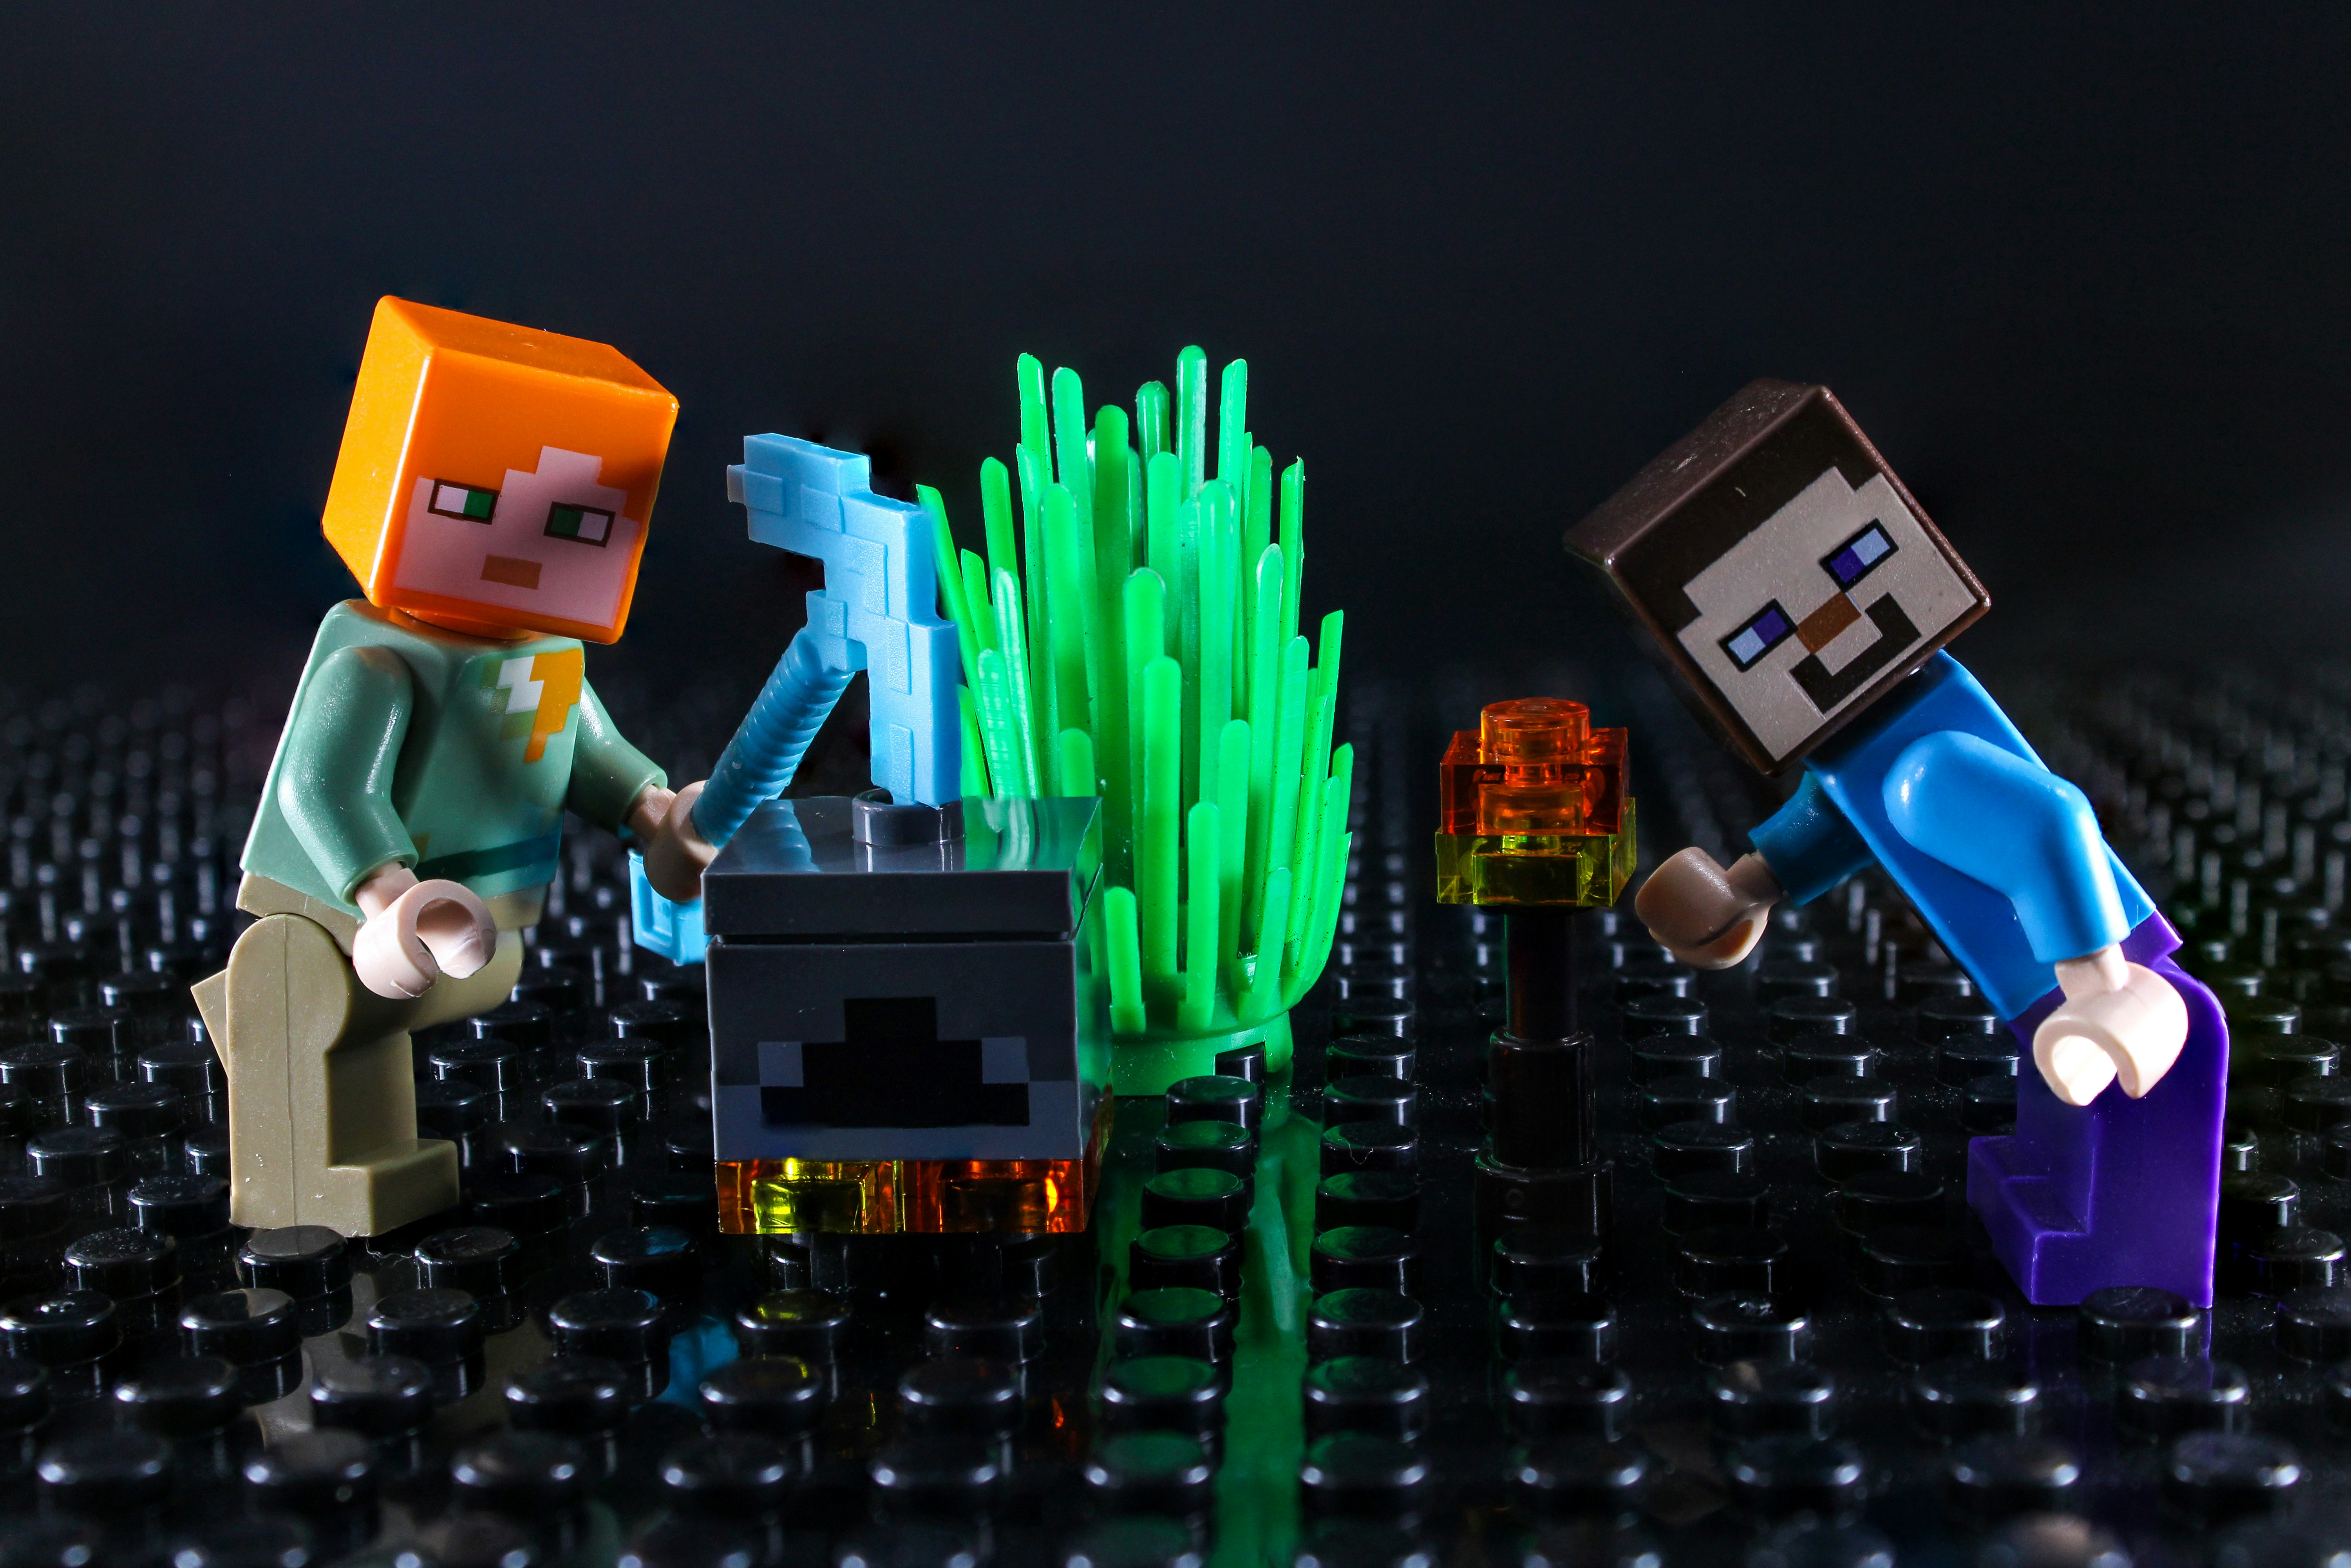
Know Your Role Before You Drop In
A raid team doesn’t survive on raw firepower alone. Every player needs to know what lane they’re in. In the Final Shape, the three core roles DPS, support, and crowd control aren’t optional anymore. They’re essential.
DPS (Damage Per Second) is your boss melter. These players handle burst output when the damage phase hits. Linear fusions, rockets, and supers like Golden Gun or Chaos Reach shine here. If you’re playing DPS, your job is simple: hit hard, don’t die.
Support players aren’t just healers they’re multipliers. Think well placed Healing or Empowering Rifts, Ward of Dawn bubbles, or builds that crank out orbs and ability energy. The right support build can keep a fireteam alive through meatgrinders.
Then there’s crowd control the unsung heroes who clear adds and keep pressure off the team. Arc Souls, Suspend builds, suppression grenades, waves of Stasis they all clear breathing room when things turn hectic.
Why does this all matter more now? The Final Shape raid punishes overlap and chaos. If everyone brings raw damage, you’ll survive until the first wipe. But a coordinated squad with distinct builds will move faster, live longer, and actually finish the thing.
Loadouts aren’t just style they’re survival. You need to balance high resilience armor and damage resistance with enough output to matter. Can you take a hit and deal one back? That’s the line. Don’t show up to a DPS fight in your ad clear boots.
Bottom line: define your role, build for it, and stick to it. You’ll thank yourself later.
Build Crafting for Maximum Impact
If you walk into the Final Shape raid with generic gear and no plan, you’re wasting everyone’s time. Build crafting now demands a higher level of precision, blending armor mods, subclass tuning, and exotic picks into a package that fits your role and your fireteam’s needs.
Start with armor mods. Prioritize resilience and recovery, but don’t ignore ability uptimes especially grenade or melee builds that fuel subclass loops. Charged with Light and Elemental Wells are out. Armor Charge and Font mods are the new core, and stacking them right can spike your damage windows or sustain your survival buffer.
Subclass synergy is non negotiable. Void Hunter with Gyrfalcon’s for invis and debuffs? Staple for support roles. Well attuned Strand builds with Threadling generation are carrying ad clear. Solar Titans with Loreley still shine for sustain dps check ins. Don’t pick your subclass based on color pick it based on what the team lacks.
Exotics make or break raid builds. Even older pieces like Phoenix Protocol or Heart of Inmost Light are still viable, but keep an eye on synergy. Final Shape raid bosses lean on rotation heavy phases. This means exotics that enhance ability regen, quick repositioning, or group buffs are seeing real value.
Light and Dark abilities now can link up mid fight if you’re smart. Use Light based support like healing grenades or Wells to stabilize, then time Darkness bursts like Suspend or Weaken effects to disable threats or burst bosses. Sync these cycles with callouts, and you create breathing room where there was none.
The punchline: don’t just copy the meta blindly. Understand why builds work mod economy, subclass loop, and synergy with your team. Then tweak it until it fits how you fight best.
Weapon Meta You Actually Need
The Final Shape raid doesn’t play nice, and neither should your loadout. Each encounter demands tight execution and smarter gun choices. Right now, the top tier picks are leaning into reliable burst and high uptime damage. For opening DPS phases and sustained boss burn, rockets like Apex Predator (crafted with Reconstruction/Explosive Light) or Two Tailed Fox are outperforming. The new exotic sword Still Hunt is also making waves, especially with its one shot Golden Gun alt perfect for precision burst on priority targets.
When clearing adds or managing control zones, Osteo Striga remains undefeated for crowd control. Paired with a volatile round Void build or Arc Soul support, it chews through mobs without draining resources. Shotguns like Heritage and The Chaperone are extremely strong in tight rooms, but only if you’re comfortable getting in enemy faces.
Legendary vs. exotic? It’s less about category and more about synergy. Pair an enhanced roll Forbearance with a damage exotic like Izanagi’s Burden or the heavy hitting Leviathan’s Breath, and you’ll keep pace across all three damage phases. Exotic primaries shine when match game shields show up Trinity Ghoul for Arc, Outbreak Perfected for raw kinetic melting.
Don’t sleep on elemental matchups, either. Strand effects are key for keeping mobs suspended during mechanic heavy transitions, while Solar remains clutch for healing on the fly. Make a loadout plan for each boss encounter, not just the whole raid. Mix it up, prep your swaps, and lean hard into what the team needs each phase.
Survive smarter. Prep better. Fire first. That’s how you win with this meta.
Communication & Team Strategy
Before anything else check the basics. Mic hot? Confirmed. Everyone got their loadouts dialed? Cool. Designate revive roles; don’t assume someone’s going to grab the ghost mid mess. One player on left, one on right, with backup in center. That clarity saves time and wipes.
For each room, go in with a plan. Assign lanes, call out add spawn zones, and know who handles the mechanic. Whether it’s dunking, stunning, or buffing, make sure people stick to their parts. Floating roles are for chaos. This raid rewards tight execution, not improv jazz.
When it falls apart and it will don’t spiral. Reset fast. Regroup, resupply, swap builds if needed. Talk it out in short bursts. What just happened, what needs fixing. No blame, just efficiency. The fireteams that bounce back quickest after a wipe are the ones making it to the final chest.
Movement Equals Survival
In Master tier raids, movement isn’t a luxury it’s survival. Knowing where to stand and where enemies are likely to spawn buys you time and keeps you alive. Every arena has hot zones, safe corners, and spawn patterns. Learn them. Use cover wisely but don’t overcommit staying mobile reduces the odds of getting pinned or caught by a surprise miniboss right behind you.
Subclass movement abilities are your best friend here. Titan Thruster, Warlock Icarus Dash, and Hunter’s Stasis shatterdives or Strand grapples let you reposition on a dime. But movement tech isn’t just evasion it’s rhythm. Learn the terrain, anticipate wave timings, and use verticality when possible. You’re not just avoiding damage; you’re controlling the tempo.
Now tighten it all with your controls. No wasted inputs. If you’re fumbling your jump or missing dodges under stress, that’s not a skill issue it’s a settings problem. Dial in your configuration using trusted custom game controls guides. Precision saves lives. Movement saves runs.
Raid Specific Mechanic Deep Dive
Final Shape doesn’t hold your hand. Knowing the core mechanics can mean the difference between a clean clear and a 30 minute wipe spiral. Every raid room runs on patterns if you can read them, you can beat them. Watch for symbols, rotation timing, and trigger cues. Most key phases revolve around syncing buffs, dunking charges correctly, or rotating relics without interrupting the loop. Slow execution equals death.
Callouts make or break the run. Designate one or two clear voices before the first pull. Everyone else keeps comms clean. Define roles ahead of time runner, stunner, plate holder, etc. Stick to them until the wipe screen tells you otherwise. Change plans only when someone calls it, not mid chaos.
Final encounters love to punish sloppy routines. Common fails: misreading boss phases, late dunks, sloppy ad control during damage cycles. Control the adds, watch the phase indicators, and time your supers. Don’t burn everything early bank team resources for the second and third damage windows.
Want to survive to the loot chest? Know the mechanics, play your role, and call your actions. Mechanics aren’t suggestions they’re the rules of the room.
Endgame Prep Starts Long Before Launch
If you’re waiting until raid day to get serious, you’re already behind. The grind starts well before launch, beginning with bounty stacking. Grab bounties from multiple vendors especially the ones tied to weapon kills, subclass abilities, or activity completions. Knock them out while running daily content. It’s not just about XP. It’s materials, engrams, crafted progress all of it.
Stockpile upgrade mats: Ascendant Shards, Enhancement Prisms, Glimmer, cores. Use the down time to fill inventory so you’re not scrambling mid raid week. Input lag won’t kill you, but running out of mats mid encounter might.
Next, get your fireteam in sync. Practice runs aren’t just about mechanics they’re about rhythm, revives, and how well your team thinks under pressure. Do nightfalls or legend activities together. See who naturally flexes roles, who needs callouts, who clutches. Build your roster around chemistry, not just power caps.
Finally, plan for chaos. Weekly modifiers and seasonal mechanics will curveball your prep. Go in with builds that can flex swappable resist mods, damage types that match solar/surge/burn cycles, backup options if your primary weapon gets nerfed. Adaptation isn’t optional it’s survival.
Extra Edge: Master the Controls
Every second counts in a Master tier raid. If your inputs are clunky or your layout slows you down, you’re already giving the enemies a win. Start by dialing in your control scheme. Keyboard or controller doesn’t matter. What matters is muscle memory and zero hesitation.
Next, move to custom keybinds. Set abilities and gear swaps where your fingers naturally rest. Put supers and dodge mechanics on instant access buttons. Don’t waste time reaching across the keyboard or fumbling with clumsy defaults.
Macros can go even further. Think fast revives, weapon swaps, or emote cancels mapped to a single press. Used smartly, they remove friction so your reactions stay sharp.
Refine everything with this custom game controls guide. Tailor your setup like a toolbox, not a toy. The difference isn’t flash it’s survival.
Final Reminder: It’s a Team Game
Let’s keep it blunt: lone wolves don’t survive Master raids. You can’t brute force mechanics or boss phases solo, and even perfect DPS means nothing if you’re not synced with the rest of the squad. Communication isn’t optional it’s the backbone of every clear. Call your role, drop your cooldowns when it counts, and remember: a silent fireteam is a wiped fireteam.
If someone’s struggling, teach not torch. Rotating roles not only builds stronger raid cohesion, it pushes everyone to understand fight dynamics from new angles. That’s the kind of growth that keeps teams sharp long term.
Master progress rarely comes from flashy one and dones. It comes from reps. Wipe. Learn. Fix. Do it again until it clicks. Every clear deepens muscle memory. Every attempt smooths execution. The goal isn’t one perfect run it’s building a crew that can walk in any week and knock it out like a routine.


 Romaine Clark serves as a vital contributor to Power Gamer Strategy Hub’s strategic insights and esports coverage. With a strong grasp of competitive dynamics and team play, he offers readers nuanced breakdowns of tournaments, pro-level tactics, and rising trends in the esports arena. His commentary and analysis consistently help readers sharpen their own gameplay and understanding of the evolving meta.